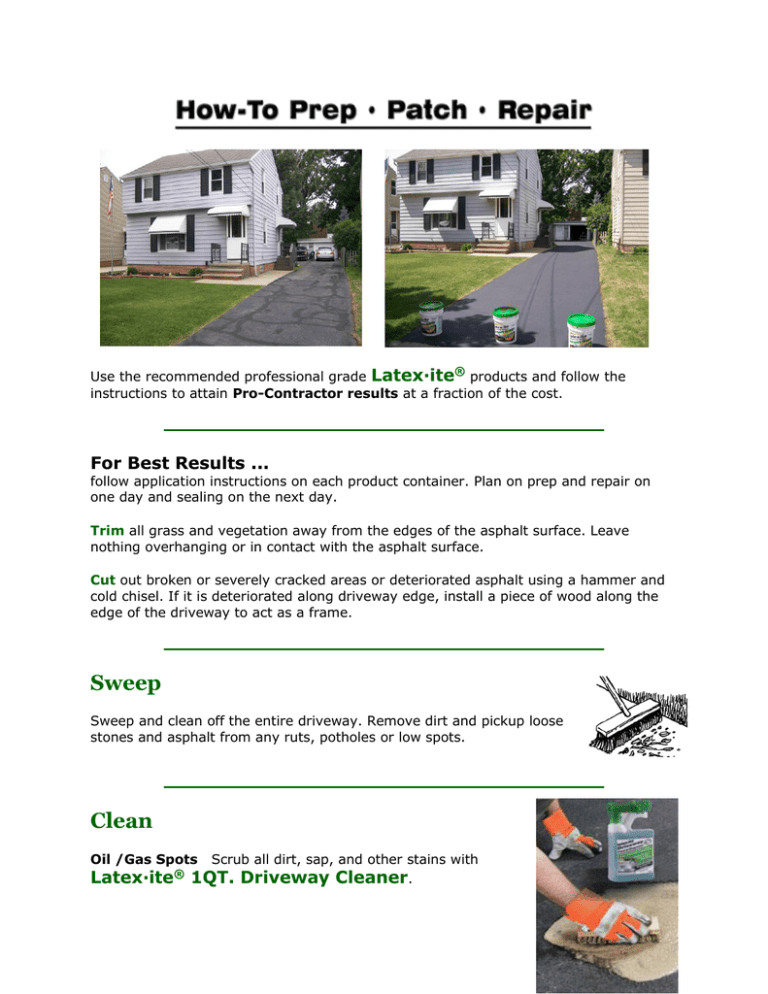
Sweep Clean - Home Depot
Anuncio

Use the recommended professional grade Latex·ite® products and follow the instructions to attain Pro-Contractor results at a fraction of the cost. For Best Results ... follow application instructions on each product container. Plan on prep and repair on one day and sealing on the next day. Trim all grass and vegetation away from the edges of the asphalt surface. Leave nothing overhanging or in contact with the asphalt surface. Cut out broken or severely cracked areas or deteriorated asphalt using a hammer and cold chisel. If it is deteriorated along driveway edge, install a piece of wood along the edge of the driveway to act as a frame. Sweep Sweep and clean off the entire driveway. Remove dirt and pickup loose stones and asphalt from any ruts, potholes or low spots. Clean Oil /Gas Spots Latex·ite ® Scrub all dirt, sap, and other stains with 1QT. Driveway Cleaner. This full strength penetrating cleaner should be liberally applied to the stain and vigorously scrubbed with a stiff wire brush. Rinse away the dirty residue area with water. Repeat this process until clean. If stain is soft, cut out with chisel and follow repair instructions. For gas and oil spots see below. Rinse After scrubbing problem spots, thoroughly flush the entire driveway with a final rinse. Prime Better Bond Apply Latex·ite® 1QT. Oil Spot Primer, an acrylic penetrating primer, to prevent any bleed-through of gas and oil and to promote a better bond of Latex·ite sealers to the cleaned area. Apply Oil Spot Primer full strength from the bottle ... spread with a brush. This product goes on white and dries clear in 20 minutes. Fill Fine & Medium Cracks up to ½"wide Fill with Filler Latex·ite® 1gal. or 1QT. 2X Premium Blacktop Crack Snip off end of spout and pour black rubberized sealant into unsightly cracks up to 1/2". Fill just below asphalt surface...do not over fill. Filler will remain pliable expanding when hot, contracting when cold. If you spill any on the pavement surface simply wipe up with wet rag or scrape off with a putty knife. Allow overnight to cure prior to sealing over. Trowel: Large Cracks, Areas of "allegation", Depressions & Low Spots Trowel with 2gal. or 1gal. Trowel Patch® This is a smooth asphalt repair product. It is designed to repair medium to large cracks, smooth out rough spots and fill minor depressions. Trowel in layers of 1/4" to 1/2" ...no greater as it sets up from the top down (maximum is two layers / ‘lifts’). Allow each layer to harden overnight before applying next layer. Level and feather out the edges for a smooth, neat, uniform appearance. Smooth Once you finished troweling, give it at least 24 hours to properly cure prior to sealing over it. Fill and Tamp Ruts · Potholes & Cut Out Areas Before you begin repairing a pothole you must make sure it has clearly identified sidewalls…as Pothole Patch will NOT work in a depression! Take a chisel and hammer and make 2 or 3” sides – this will give the product something to compact up against and cure. Fill area to be repaired with 1gal. or 3.5gal. Super Patch, a black stone adhesive mix, until slightly above the asphalt surface. Use end of 2 x 4 or tamp and compact until level with the pavement. Check your work with a straight edge. Allow 2 weeks to cure prior to sealing over repair. Visit www.latexite.com for videos and more information! Latex·ite® asphalt driveway sealers are time-tested and performance proven. Professional grade formulas that are user friendly for the Do-It-Yourselfer. Latex·ite® driveway sealing products go on easier / faster, perform better and look the BEST! So use Latex·ite® brand asphalt All driveway sealers (BEWARE of lower cost ... Knock-Offs) and do it right the first time. Before you begin make sure you purchase the correct number of pails as you do not want to run out during the project. Tip for hot days: Mist off the driveway prior to sealing. Your job will be a lot easier!!! Remember: USE SQUEEGEE for Premium Plus, Sand Mix, USE ROLLER for Acrylic Plus. (NO SQUEEGEE!) Airport Grade, Optimum and Ultra Shield Once the asphalt is repaired and cleaned ... you are ready to seal. DON'T SEAL OVER PROBLEMS! Apply only if weather is clear and dry. DO NOT APPLY when rain or fog is imminent or likely within 48 hours. Also, do not apply very late in the day. For best results both surface and air temperature should be above 55°F and rising for proper adhesion. Stir Normally the pails will only need a quick mix but to be sure it’s good idea to flip over the pail at least 24 hours prior to using the product. (Carefully inspect the lid to insure it is secure before turning over). "Batch" or "box" the pails by having an empty bucket there and mixing them all back and forth. This will ensure uniform consistency. Premix 1/2 of the pails you expect to use then mix additional pails as needed. (Keep the mixed pails covered as you work). Please see stirring tip. Mist (Only when the pavement is very HOT) Start at the end of the driveway farthest from the street (start approximately 2 feet out). Apply a fine mist of water to the pavement to lightly dampen the pavement ... leave no standing puddles of water. Apply sealer to the dampened pavement. Remoisten as needed. Pour Start by pouring a ribbon of sealer across the width of the driveway about 2 feet from the end of the garage or house in a snake-like pattern. Use a driveway squeegee (see our 18" Seal Right squeegee). Seal Once you've poured a bead across the driveway, use your squeegee to pull the sealer back and forth, in a moon shape, across the driveway starting near your house and working down towards the street. (Maintain a wet bead or edge to avoid streak marks.) See photos below. Remember to drag squeegee back and forth ... do not push. Apply pressure to leave a thin coat. Two thin coats are better than one thick coat. As more sealer is required, pour it next to where you left off to slightly overlap (Maintain a wet bead or edge to avoid streak marks). Continue sealing project in one day if possible and without stopping to avoid your driveway sealer curing at a different rate... possibly leaving different shades of color. Use a squeegee properly to get professional results: ...going from left to right ...going from right to left Right hand on top twisting towards your chest, left hand on bottom applying down pressure. Left hand on top twisting towards your chest, right hand on bottom applying down pressure. Make the job a lot easier and get professional results with our NEW 18" Seal Right Driveway Squeegee. Curing Block off the driveway with the empty pails and stay off the driveway for a minimum of 24-48 hours. The sealer may take longer to cure if it is humid. Clean Up Latex·ite® water-based formulas make clean up quick and easy. Simply clean tools and empty buckets with plain water immediately after use. Buckets can be used for gardening, fishing, car washing, hobbies ... CAUTION Apply Latex·ite® Sealers only if the ground temperature is above 55°F -- day or evening and rain is not forecast in 24 - 48 hours. PLEASE VISIT LATEXITE.COM FOR MORE INFORMATION INCLUDING DEALER FINDER, VIDEOS AND COVERAGE CALCULATORS! En Espanol: Utilice el látex de grado profesional • recomendó productos ITE ® y siga las instrucciones para obtener resultados Pro-contratista a una fracción del costo. Para mejores resultados de ... siga las instrucciones de aplicación en cada envase del producto. Tengo planes de preparación y reparación en un día y sellado en el día siguiente. Quite toda la hierba y la vegetación de los bordes de la superficie de asfalto. No deje nada en voladizo o en contacto con la superficie de asfalto. Recorta las áreas rotas o severamente agrietadas o asfalto deteriorado utilizando un martillo y cincel. Si se deterioró a lo largo del borde calzada, instale un trozo de madera a lo largo del borde de la calzada para que actúe como un marco. barrer Barrer y limpiar todo el camino de entrada. Quite la suciedad y las piedras sueltas de recogida y el asfalto de las roderas, baches o puntos bajos. limpio Puntos del petróleo / gas Aceite Scrub, manchas de gas y otras manchas con látex • ite ® Cleaner calzada. Esta fuerza completa penetrante limpiador se debe aplicar generosamente sobre la mancha y se frotó vigorosamente con un cepillo de alambre rígido. Enjuague el área sucia residuo con agua. Repita este proceso hasta que quede limpio. Si la mancha es suave, corta con cincel y siga las instrucciones de reparación. enjuague Después de fregar los puntos problemáticos, lave a fondo todo el camino de entrada con un enjuague final. principal Mejor Bono Aplicar Látex • ite ® Oil Spot Primer, un acrílico imprimación penetrante, para evitar cualquier bleedthrough de trazas de gas y petróleo y para promover un mejor vínculo de látex • selladores ite a la zona a limpiar. Aplicar aceite Spot Primer fuerza completa de la botella ... extendido con un cepillo. Este producto va en blanco y se seca claramente. Puede ser necesaria más de una capa. llenar Bellas y Medianas Grietas hasta ½ "de ancho Rellenar con látex • ite ® 1GAL. o 1QT. 2X premium Recortar final de caño y vierta el sellador de goma negro en antiestéticas grietas de hasta 1/2 ". Llenar justo debajo de la superficie de asfalto ... no llenar demasiado. Filler permanecerá flexible ... expansión cuando está caliente, la contratación con el frío. Si derrama alguna sobre la superficie del pavimento, simplemente limpie con un trapo húmedo o raspar con una espátula. Permitir durante la noche para curar antes de sellar más. paleta Grandes grietas, áreas de "denuncia", Depresiones & Low Spots Paleta con 1gal. Paleta Patch ® Este es un producto de reparación de asfalto liso. Está diseñado para reparar medianas y grandes grietas, suavizar las zonas ásperas y rellenar depresiones menores. Paleta de capas de 1/4 "a 1/2" ... no es mayor que en ella se establece de arriba hacia abajo. Permitir que cada capa se endurezca durante la noche antes de aplicar la próxima capa. Construir el parche hasta que el nivel y emplumar los bordes de un aseado aspecto liso, uniforme. liso Una vez que termine con llana, darle por lo menos 24 horas para curar adecuadamente antes del sellado del mismo. Llenar y Tamp Áreas Ruts • Baches y Fotografica Rellenar área a reparar con 3.5gal Súper Patch o 1gal Súper Patch (mismas fórmulas), una mezcla adhesiva de piedra negro, hasta que esté ligeramente por encima de la superficie de asfalto. Utilice final de 2 x 4 o apisonar y compacta hasta que el nivel con el pavimento. Revise su trabajo con un borde recto. Permita 2 semanas para curar antes del sellado durante la reparación. Repair-Todo el Año Látex • ite ® Super Patch es una de alta tecnología compuesto de piedra multiusos. Los aditivos especiales permiten reparar en cualquier tipo de clima ... caliente / frío o húmedo / seco! Sólo pala y apisonar ... listo para el tráfico. Cómo Sellar 1. Limpiar… Barrer y limpiar toda la entrada. Eliminar manchas de aceite y combustible - enjuagar los restos con agua. 2. Sellar… Evitar que las manchas de aceite penetren aplicando un sellador fuerte. Va con blanco… se seca transparente. El sellador para manchas de aceite se vende en latexite.com 3. Rellenar… Recortar el pico y verter el relleno en la grieta justo por debajo del borde asfáltico No rellenar demasiado. Permanece maleable. 4. Reparar… Reparar las grietas grandes y lugares hundidos aplicando en capas (de ¼” - ½” de espesor) del parche. Una vez curado, se podrá aplicar otro nivel… emparejar bordes. 5. Emparchar… Aplicar el parche en surcos, baches y recortes… rellenar por sobre la superficie asfáltica… luego apisonar. Esperar 2 semanas antes de sellar. Mezlar… Determinar la cantidad aproximada de baldes (ver cobertura), mezclar bien todos los baldes para lograr consistencia. Se puede ahorrar tiempo y esfuerzo con el kit para mezclar Latexite® Driveway Sealer Mix Kit en venta en latexite.com Verter… Barrer y limpiar bien la superficie. Si el pavimento está muy caliente, vaporizar con muy poca agua antes del sellado; cepillar los charcos. Delimitar la entrada con un pincel de pintura ancho o para aplicar papel en las paredes. Verter el sellador Latexite ® por la parte superior de la entrada haciendo ondas. Esparcir… Distribuir el sellador de lado a lado con la escobilla a lo ancho de la entrada, retirando el exceso. Dos manos delgadas son mejores que una gruesa. Dejar secar bien la primera mano antes de aplicar la segunda. No utilizar la entrada durante 24-48 horas. 6. Sellar… para lograr MEJORES resultados… dejar curar el parche y las reparaciones un mínimo de 24 horas. Aplicar el sellador sólo si hay 55ºF o más y si no hay pronóstico de lluvia para las próximas 24 horas. Visita www.latexite.com videos y más información!


