On the re-calibration of Rh
Anuncio
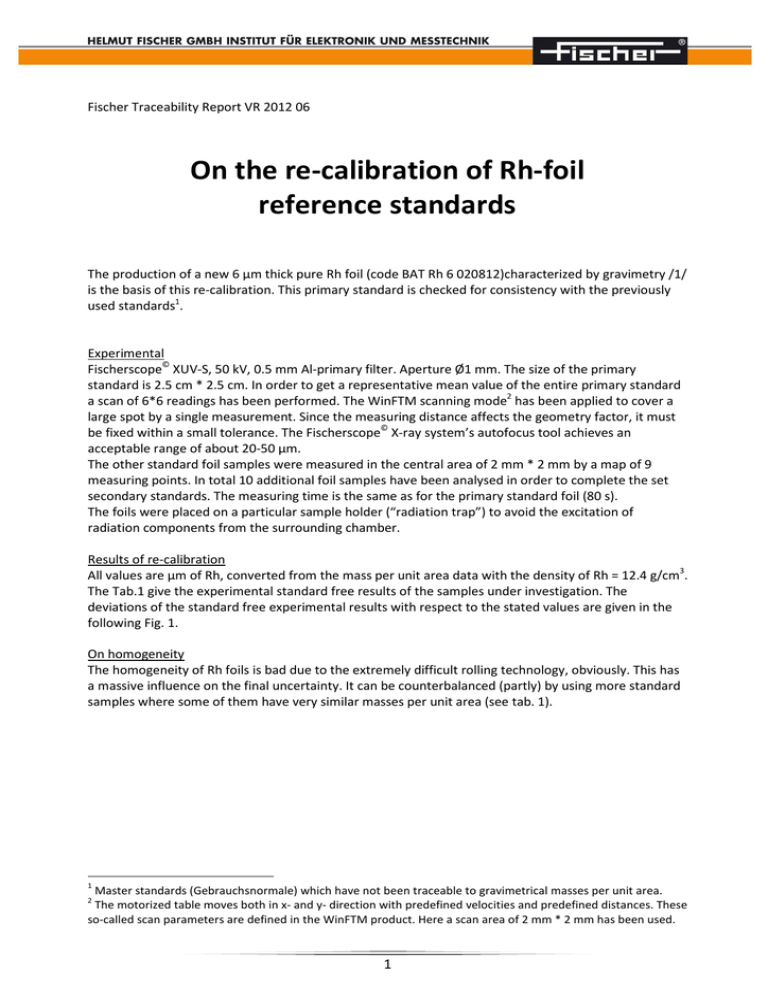
Fischer Traceability Report VR 2012 06 On the re-calibration of Rh-foil reference standards The production of a new 6 µm thick pure Rh foil (code BAT Rh 6 020812)characterized by gravimetry /1/ is the basis of this re-calibration. This primary standard is checked for consistency with the previously used standards1. Experimental Fischerscope© XUV-S, 50 kV, 0.5 mm Al-primary filter. Aperture Ø1 mm. The size of the primary standard is 2.5 cm * 2.5 cm. In order to get a representative mean value of the entire primary standard a scan of 6*6 readings has been performed. The WinFTM scanning mode2 has been applied to cover a large spot by a single measurement. Since the measuring distance affects the geometry factor, it must be fixed within a small tolerance. The Fischerscope© X-ray system’s autofocus tool achieves an acceptable range of about 20-50 µm. The other standard foil samples were measured in the central area of 2 mm * 2 mm by a map of 9 measuring points. In total 10 additional foil samples have been analysed in order to complete the set secondary standards. The measuring time is the same as for the primary standard foil (80 s). The foils were placed on a particular sample holder (“radiation trap”) to avoid the excitation of radiation components from the surrounding chamber. Results of re-calibration All values are µm of Rh, converted from the mass per unit area data with the density of Rh = 12.4 g/cm3. The Tab.1 give the experimental standard free results of the samples under investigation. The deviations of the standard free experimental results with respect to the stated values are given in the following Fig. 1. On homogeneity The homogeneity of Rh foils is bad due to the extremely difficult rolling technology, obviously. This has a massive influence on the final uncertainty. It can be counterbalanced (partly) by using more standard samples where some of them have very similar masses per unit area (see tab. 1). 1 Master standards (Gebrauchsnormale) which have not been traceable to gravimetrical masses per unit area. The motorized table moves both in x- and y- direction with predefined velocities and predefined distances. These so-called scan parameters are defined in the WinFTM product. Here a scan area of 2 mm * 2 mm has been used. 2 1 Tab. 1 The standard free experimental results of the samples under investigation are compared with the stated values. The 1st line is the primary standard BAT Rh 6 020812 which differs from the expected value by 1.3 % only. The Zero Code BAT Rh 6 020812 empty sample holder ACGSF ACZVB ACZVC ACZVD ABAYN ABAYO ABAYK ABAYJ ABAYM ABAYL stated value 6.494 0 0,186 0,45 0,51 0,5 7,2 7,1 13,6 13,6 24,9 25,2 exp. [µm] re-calibrated measuring uncertainty (k=1) 6,581 0,0007 0,178 0,412 0,474 0,484 7,262 7,25 14,05 13,44 25,5 25,15 0,175 0,406 0,467 0,477 7,17 7,15 13,87 13,26 25,17 24,82 0,005 0,01 0,01 0,01 0,1 0,1 0,3 0,3 0,5 0,5 Fig. 1 Relative deviations of the standard free experimental reading with respect to the stated values. The red mark denotes the new primary standard and the Zero value. The blue ones refer to the old standards which are calibrated now, cf. Tab. 1. The line depicts the linear correction (1.3%). Conclusion The new foil is in good agreement with the previously evaluated data. Only weak corrections (1%) are calculated from a re-calibration using the new primary standard (Tab. 1). The other standards (Tab. 2 and 3) are calibrated in the same manner. These standards are regarded as secondary standards now due to their direct relation with the BAS PT 5 16 09 11 standard. VR 07.08.2012 References /1/ Reg. No. D-K-15076-01-00. 2

