PowerPoint 簡報 - Webcollage.net
Anuncio
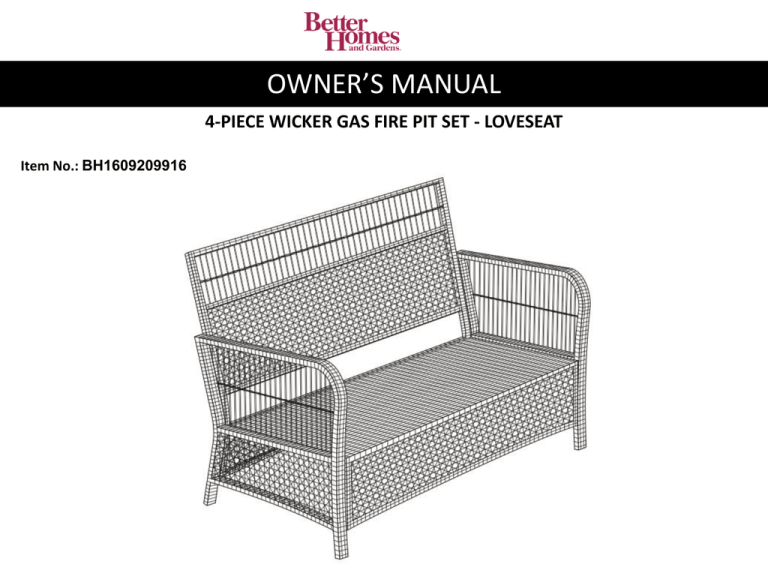
OWNER’S MANUAL 4-PIECE WICKER GAS FIRE PIT SET - LOVESEAT Item No.: BH1609209916 Step 1: Identify all parts packed in the carton against the parts list. Remove protective materials and place parts on a flat, non-abrasive surface to avoid scratching. Step 2: Attached chair back (A) and chair seat (B). by using the provided bolts (F) and washers (G). Guide each bolt and washer through holes on the chair seat beneath to the chair back as shown in diagram. Hand tighten 3 – 4 revolutions only. Repeat the same procedure on the other side. 1 3 J Page 2 Step 3: Attach chair seat and back to the chair arm (C) by using the provided bolts (F) and washers (G). Guide each bolt and washer through the chair seat front and back to the chair arm (holes already in place in the chair arm). Hand tighten 3 – 4 revolutions only. Repeat the same procedure on the other arm (D). Step 4: Attach the support leg to the chair seat by using bolts (E) and washers. Step 5: Tighten all bolts with the hex bolt driver (I) provided. Cover the bolts with the PVC cover (H) provided. If you do not feel your chair is assembled properly, repeat step 2 and 3. J Page 3 MANUAL DEL USUARIO MUEBLES DE MIMBRE CON HOGUERA DE PATIO DE GAS, 4 PIEZAS - CONFIDENTE No. de artículo: BH1609209916 Paso 1: Identifique todas las piezas embaladas en la caja con la lista de piezas. Quite todos los materiales protectores y coloque las piezas sobre una superficie no abrasiva para evitar rasguños. Paso 2: Fije el respaldo de la silla (A) al asiento de la silla (B) utilizando pernos (G) y arandelas (I). Haga pasar los pernos y las arandelas a través de los agujeros del asiento de la silla al respaldo de la silla como se muestra en el diagrama. Apriete a mano 3 o 4 revoluciones únicamente. Repita el mismo procedimiento para el otro lado. 1 3 J Page 2 Paso 3: Fije el respaldo de la silla al brazo de la silla (C) utilizando pernos (H) y arandelas (I). Haga pasar los pernos y las arandelas a través del respaldo de la silla al brazo de la silla (agujeros ya colocados en el brazo de la silla). Apriete a mano 3 o 4 revoluciones únicamente. Fije el asiento de la silla al brazo de la silla utilizando pernos (F) y arandelas. Haga pasar los pernos y las arandelas a través del asiento de la silla al brazo de la silla, y también apriete a mano únicamente. Repita el mismo procedimiento para el otro brazo (D). Paso 4: Fije la pata de apoyo al asiento de la silla utilizando pernos (E) y arandelas. J Paso 5: Apriete todos los pernos con el botapernos hexagonal (I) provisto. Cubra los pernos con los capuchones de PVC (H) provistos. Si piensa que su confidente no está correctamente montado, repita los pasos 2 y 3. SI TIENE PREGUNTAS O DUDAS SE RUEGA LLAMAR A BOND SIN CARGOS al 1-866-771-BOND(2663) O PARA ACELERAR SU PEDIDO NO DEJE DE MANDARNOS UN CORREO ELECTRÓNICO AL [email protected] O VISITE NUESTRA PÁGINA WEB BAJO ATENCIÓN AL CLIENTE www.bondmfg.com BOND MANUFACTURING CO. 1700 West 4th Street, Antioch, CA 94509 Page 3
