Gummi Bears
Anuncio
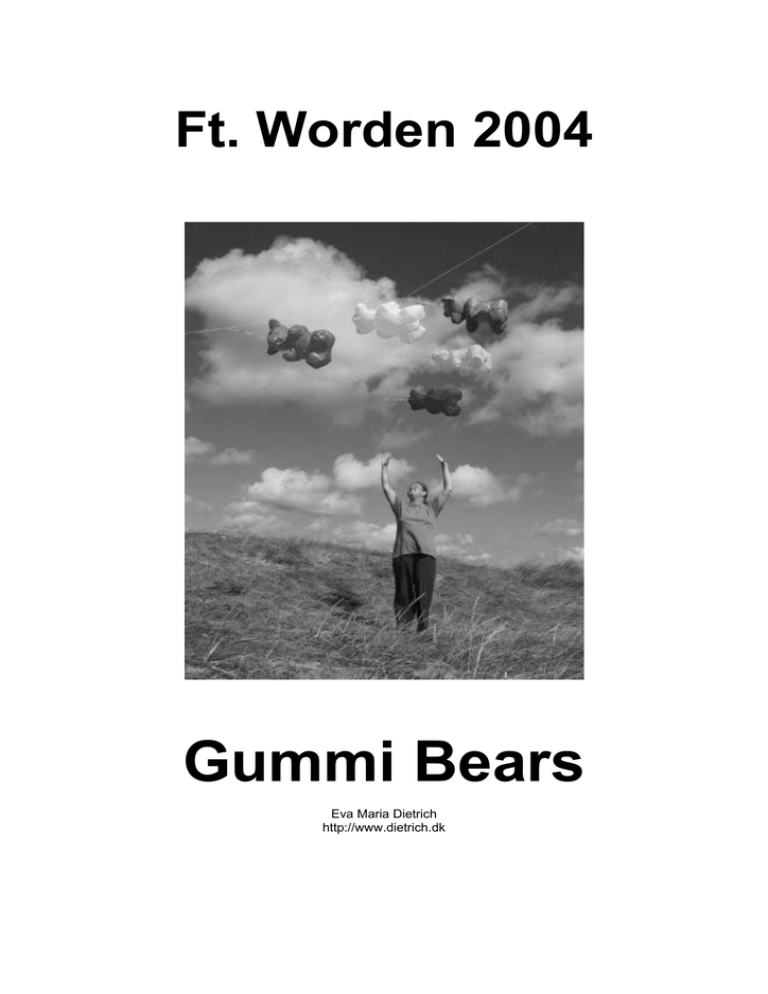
Ft. Worden 2004 Gummi Bears Eva Maria Dietrich http://www.dietrich.dk Step 1 - sew the middle nose-piece along the straight line to the middle of the head-piece sew the right nose-piece along the straight line to the right headpiece. Same procedure with the left side – the left side should be the mirror-piece of the right side Step 2 - Sew the right side on the middlepiece. Same procedure with the left pattern piece. The seam must be on the inside of the pieces! Step 3 - Sew right and left side together, start at the nose Again – the seam must be inside. Don´t sew the V-piece at the neck area together! Step 4 - Take two of the foot pieces and sew them together. Sew only 50% of the piece, start at the top. Take a third piece and sew 50% of the piece. Same procedure with piece number 4. Sew piece number 1 together with piece number 4. Turn the piece right side out. All seams must be inside. Same procedure with the other foot pieces and the two arms. Step 5 - Take 2 small and a big ear piece and sew both together along the round line. Turn the pieces right side out; the seam must be inside. Same procedure with the other ear. Step 6 - Take the head and one ear. Put the ear through the ear hole and adjust the ear. Sew the ear from the inside to the head. Same procedure with the other ear. Step 7 - - Take the body pattern and adjust it on the table. The bottom must point in your direction. The bottom seams like a sickle. Take a foot piece and sew it to the hole in the bottom of the body pattern. Same procedure with the other food. Take the hand pieces and sew them on the other side. All seams must be on the inside. Step 8 - sew the head along the V neck to the body. Step 9 - take the side profile and sew it to the body. Start at one side and sew around the whole body Sew the short part of the profile to the head and turn whole bear around. Step 10 - Take the back piece and adjust it to the body. Start sewing at the top and sew 50% around. Start again at the top and sew the rest. Turn the gummi bear to the outside through the hole in the top. Step 11 - At last, sew the reinforcement at the top of the bear and assemble the bridle line. Congratulations! Your gummi bear is ready!!
