Grab Bar – GB-PRV24-40 – 747 385 36” Grab Bar
Anuncio
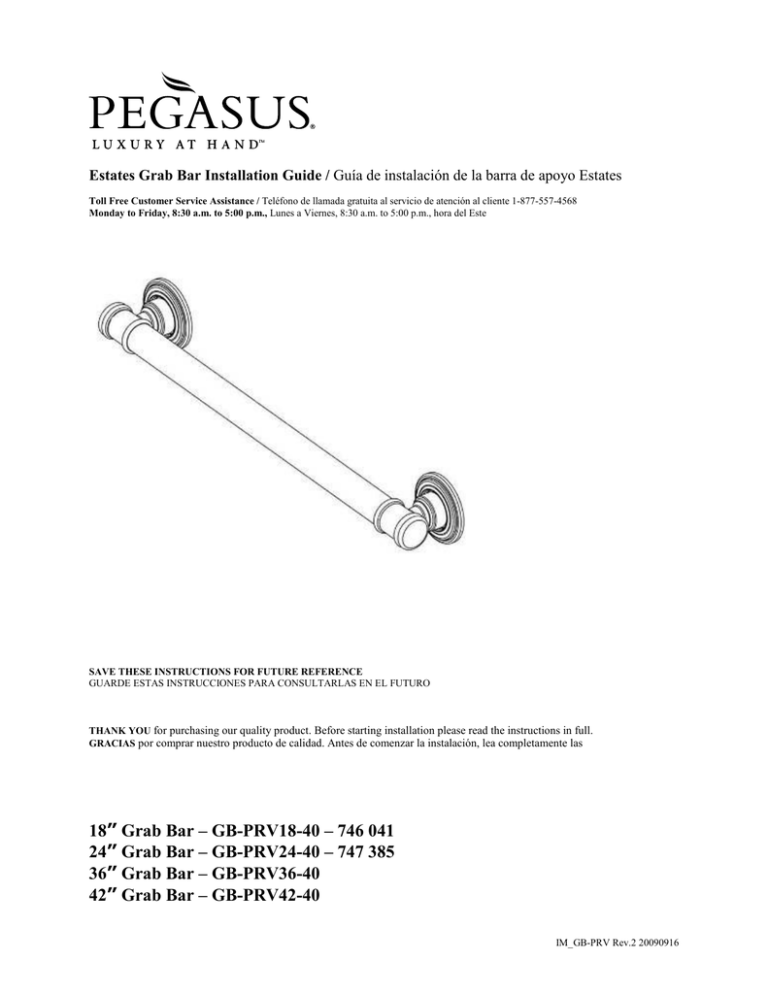
Estates Grab Bar Installation Guide / Guía de instalación de la barra de apoyo Estates Toll Free Customer Service Assistance / Teléfono de llamada gratuita al servicio de atención al cliente 1-877-557-4568 Monday to Friday, 8:30 a.m. to 5:00 p.m., Lunes a Viernes, 8:30 a.m. to 5:00 p.m., hora del Este SAVE THESE INSTRUCTIONS FOR FUTURE REFERENCE GUARDE ESTAS INSTRUCCIONES PARA CONSULTARLAS EN EL FUTURO THANK YOU for purchasing our quality product. Before starting installation please read the instructions in full. GRACIAS por comprar nuestro producto de calidad. Antes de comenzar la instalación, lea completamente las 18” Grab Bar – GB-PRV18-40 – 746 041 24” Grab Bar – GB-PRV24-40 – 747 385 36” Grab Bar – GB-PRV36-40 42” Grab Bar – GB-PRV42-40 IM_GB-PRV Rev.2 20090916 Estates Grab Bar Installation Guide Guía de instalación de la barra de apoyo “Estates” GB-PRV**-** Safety Warnings: DO NOT install without first reading and understanding this instruction sheet. If any part of these instructions and warnings are unclear or could not be understood, please contact a health care professional or technical person before attempting to install this equipment, injury may occur otherwise. After ANY adjustments, repair or service, and BEFORE use, make sure that all hardware is tightened securely When working on wet surfaces please use EXTREME caution. Users with limited physical capabilities should be supervised or assisted in bath and commode areas, even when using Grab Bars. Grab Bars are NOT designed to support the total weight of an individual. The use of this bar is for assistance ONLY. Be sure Grab Bars are correctly and securely installed Never use grab bars if any part becomes loose. Advertencias de seguridad: NO instale el producto sin antes leer y comprender esta hoja de instrucciones. Si cualquier parte de estas instrucciones y advertencias le resulta confusa o incomprensible, comuníquese con un profesional médico o con un técnico antes de instalar el equipo, pues de otra forma podría sufrir lesiones. Verifique que todos los herrajes estén bien apretados después de hacer CUALQUIER ajuste, reparación o mantenimiento, y ANTES de usar el producto. Tenga MUCHO cuidado cuando trabaje sobre superficies mojadas. Los usuarios con capacidades físicas limitadas deben contar con supervisión o ayuda cuando usen el baño o el tocador, incluso si usan las barras de apoyo. Las barras de apoyo NO están diseñadas para soportar todo el peso de la persona. Esta barra se debe usar ÚNICAMENTE como apoyo. Asegúrese de instalar debidamente las barras de apoyo. Nunca use la barra si se afloja alguna de sus piezas. Tools required/Herramientas necesarias: Power Drill Taladro eléctrico 1/8” drill bits Brocas de 1/8" Phillips Screwdriver Destornillador Phillips Stud finder Detector de montantes Pencil Lápiz Level Nivel Tape Measure Cinta métrica Safety glasses Gafas de seguridad Silicone Sealant Masilla selladora de silicona Hardware Contents/Herrajes incluidos: (6) Mounting screws #10x2” Stainless steel (6) tornillos de montaje No. 10 x 2", de acero inoxidable 2 Installation instructions: (Wood Stud Mounting) • • • Please note that all screws MUST be mounted firmly into a wood stud. Locate the center of the stud by using a stud finder or other stud locating method. (Note: studs are usually 16 inches apart.) Remove escutcheon from the Grab Bar base by gently tapping from the back. Instrucciones de instalación (montaje sobre montante de madera): • • • Tenga presente que todos los tornillos DEBEN quedar firmemente enroscados en el montante de madera. Localice el centro del montante con el detector o aplique otro método para detectar montantes. (Nota: generalmente, los montantes se instalan a 16 pulgadas de distancia entre sí.) Retire el escudete de la base de la barra de apoyo • • Note: DO NOT LOOSEN the HEX BOLTS underneath the flange. Nota: NO AFLOJE los tuernos de la TUERCA HEXAGONAL por debajo del reborde. • Place the Grab Bar on the wall where desired so that the mounting holes are positioned over a wood stud. Use a level, if needed. Coloque la barra de apoyo en el lugar deseado sobre la pared, de modo que sus orificios de montaje queden sobre un montante de madera. Si es necesario, use un nivel. • • • With a pencil, mark the mounting hole locations – example below: Con un lápiz, marque la ubicación de los agujeros de montaje; vea el siguiente ejemplo: 3 • • Remove the Grab Bar from the wall and carefully drill pilot holes as marked, make sure the holes are drilled into the stud Retire la barra de apoyo de la pared y perfore con cuidado los agujeros piloto marcados, verificando que se perfore sobre el montante • • Install the Grab Bars with the accompanying screws; make sure the screws are secured tightly. Instale las barras de apoyo con los tornillos suministrados. Verifique que estos queden bien apretados. • Slide the escutcheons on the Grab Bar base to the mounting plates, and rotate them into same alignment. If desired, apply silicone caulking to the back of the escutcheon to protect against water penetration. Deslice los escudetes de la barra de apoyo sobre las placas de montaje y gírelos para alinearlos. Si lo desea, aplique masilla de silicona a la parte posterior del escudete, para protegerlo contra la entrada de agua. • Note: Grab Bars are to be mounted to a secure surface. The manufacturer will not accept responsibility for any and all damage caused by lack of wall strength or improper installation. Nota: las barras de apoyo se deben instalar sobre superficies seguras. El fabricante no se hace responsable por ningún daño ocasionado por la debilidad de la pared o por la mala instalación. Warning: Install in accordance with instructions. Do not modify or alternate this product in any way. After installation check your Grab Bar periodically to ensure all screws are secure. Advertencia: Instale el producto según lo indicado en las instrucciones. No modifique ni altere este producto de ninguna forma. Después de la instalación, revise periódicamente sus barras de apoyo para verificar que los tornillos estén bien apretados. 4
